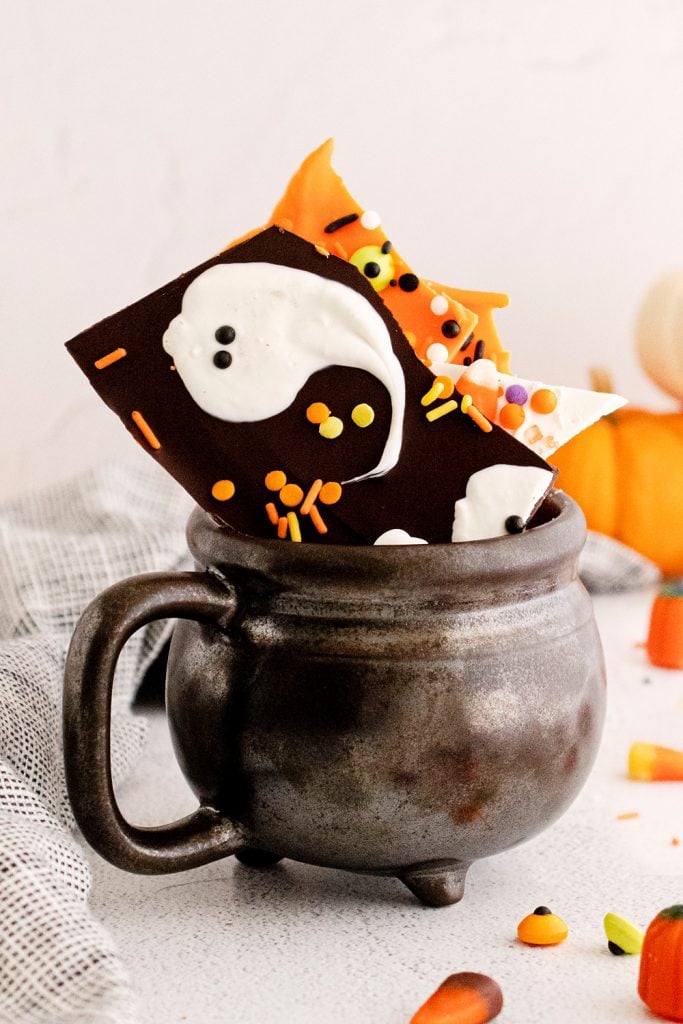
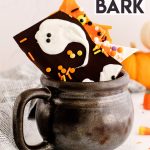
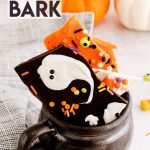
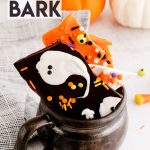
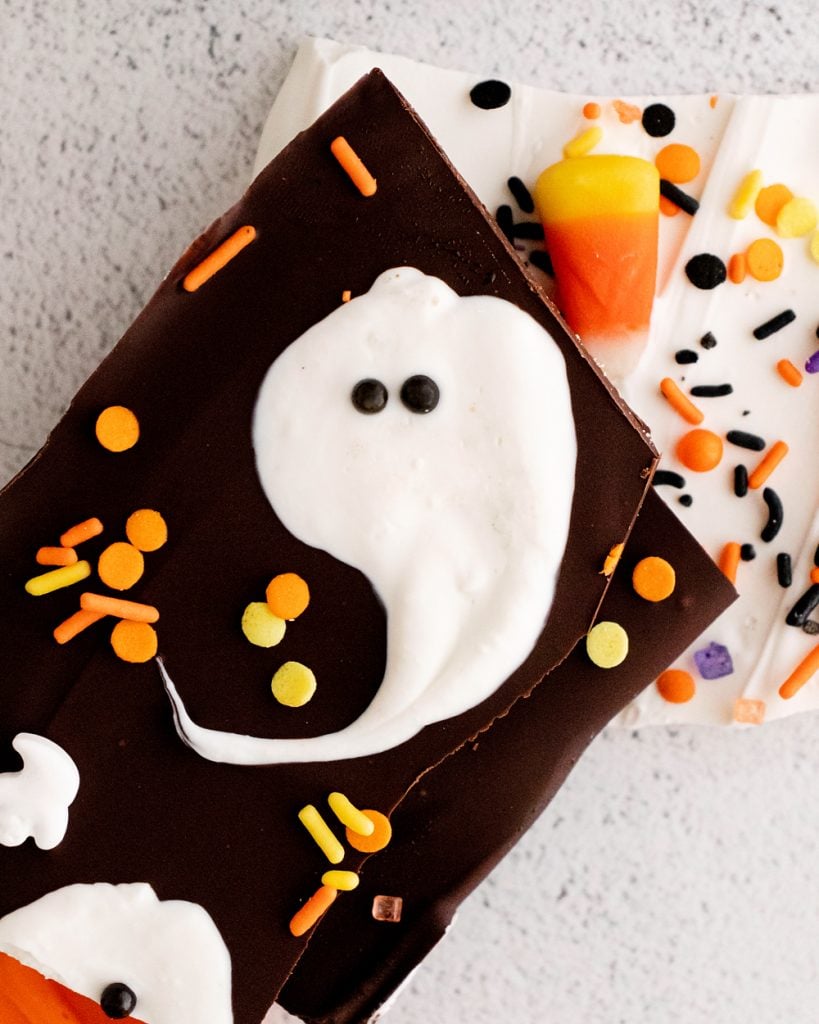
This Halloween Bark with cute ghosts, creepy eyeballs and candy corns is a kid friendly recipe perfect for the holiday!
Chocolate Bark Recipe
Chocolate bark is a classic treat that is incredibly easy to make and lots of fun to decorate. This Salted Caramel & Pretzel Chocolate Bark is a personal favorite of mine!
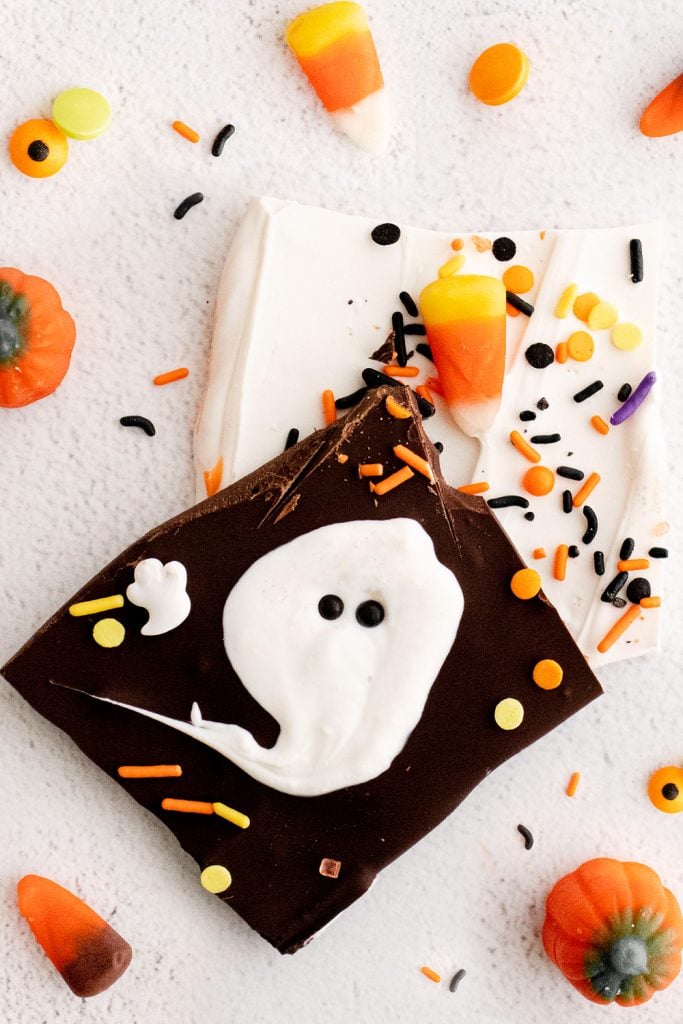
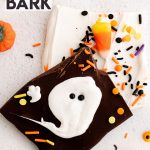
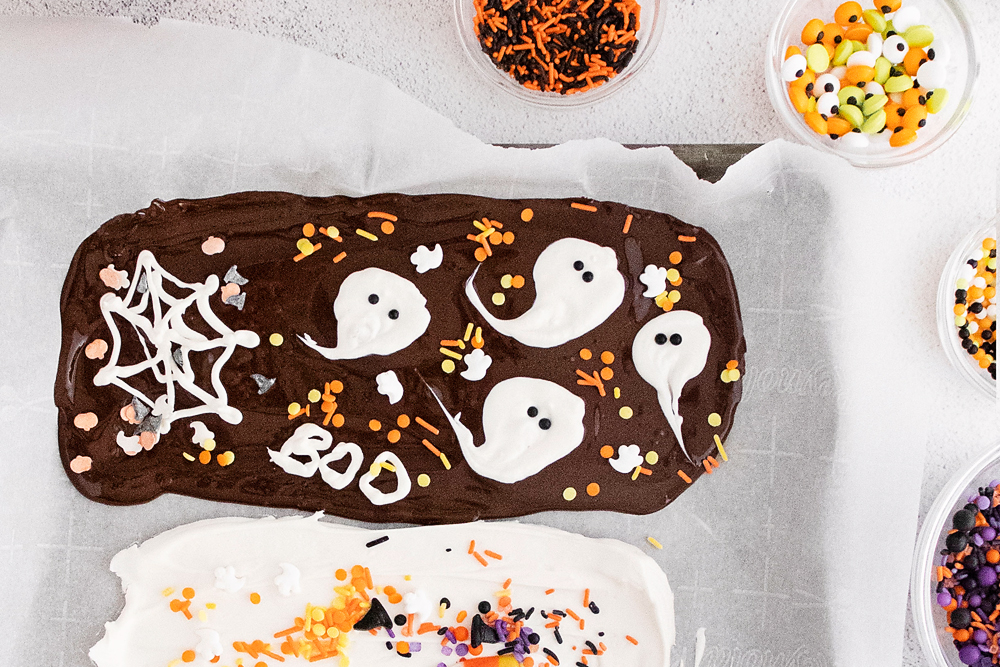
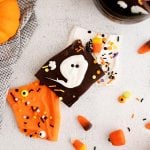
For Halloween we added some cute ghosts to the bark along with candy corns, sprinkles and candy eyeballs to make it a fun and cute recipe the kids will love helping with.
What do I need to make chocolate bark?
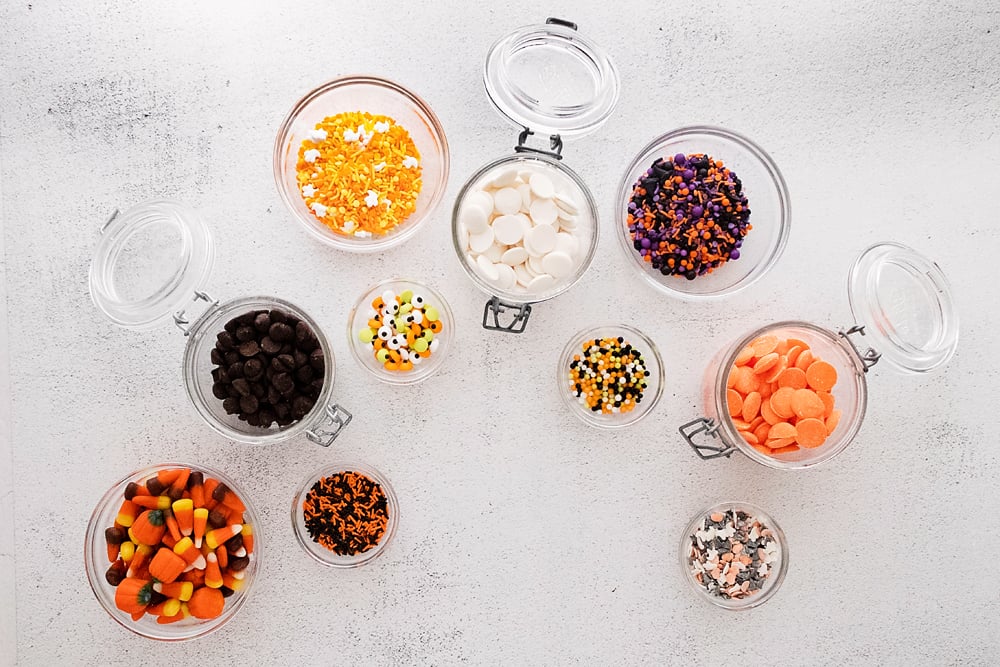
This easy Halloween Bark only requires 5 simple ingredients. Collect the following ingredients and supplies to get started.
- Dark chocolate chips
- White chocolate chips
- Candy eyeballs
- Sprinkles
- Candy corns
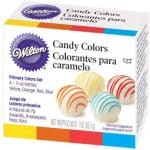
- Candy dye (optional)
- Sheet pan
- Parchment paper
- Icing spatula
While some people prefer a double boiler to melt their chocolate, I take the easy route and use my microwave. As long as you microwave the chocolate slowly in 30 second increments and stir between each increment, you can easily avoid overcooking the chocolate.
It’s important not to cook the chocolate too much or it will seize up and you will be left with a grainy ball of mess that no one will want to eat.
If you want to add some orange or purple chocolate bark to your sheet pan, I prefer dying the white chocolate with some candy dye.
If you want an easier option, you can use candy melts that melt easier and smoother. Candy melts don’t taste as good in my opinion though.
How to make chocolate bark
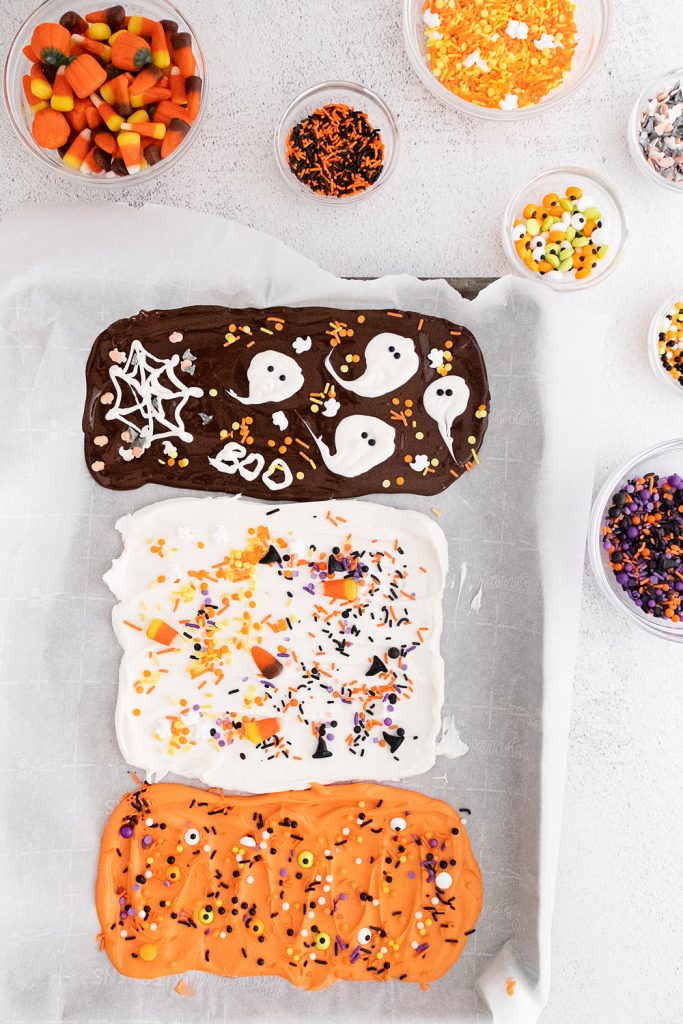
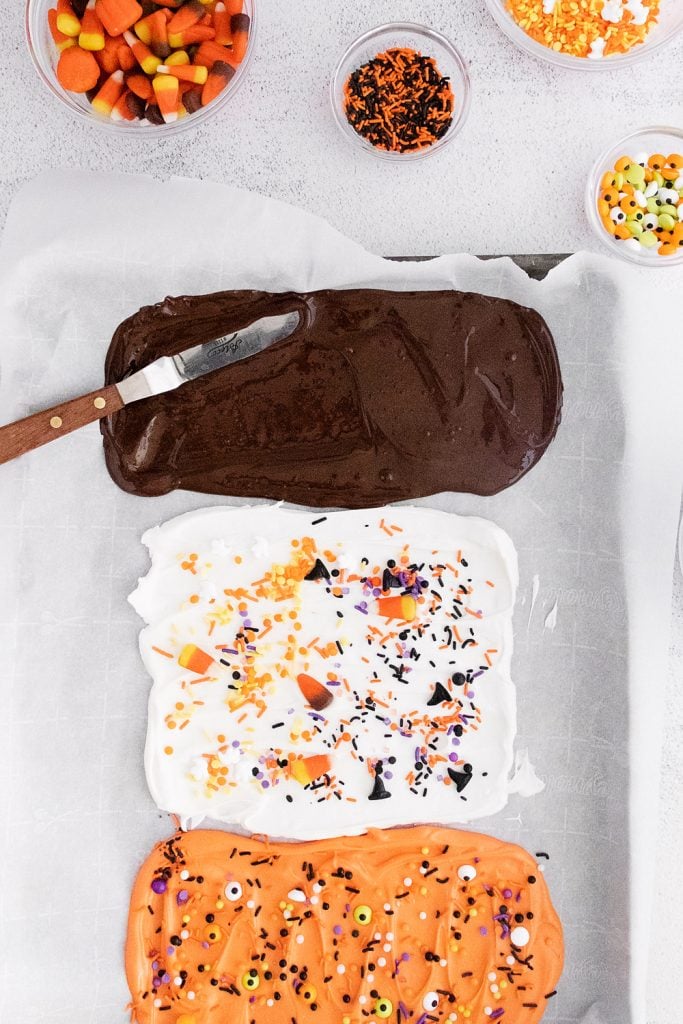
To get started line your sheet pan with parchment paper. Dump the melted dark chocolate onto the parchment paper and using an icing spatula, spread the chocolate into a 1/4 inch thick layer.
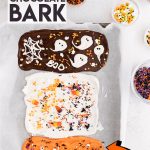
You can make all of the Halloween bark in one base color, or use a few different ones on the same sheet pan. If you really want to make it fun and colorful, you can add some small dollops of different colored chocolate on the base color. Swirl the colors around with a butter knife or toothpick for a swirly design.
How to make chocolate ghosts
Add 1/2 cup melted chocolate to a quality plastic bag and cut a small piece of the corner out. Be sure to use a quality bag or a cheap bag may melt.
Use the bag of chocolate to pipe out designs over the chocolate such as spider webs and ghosts.
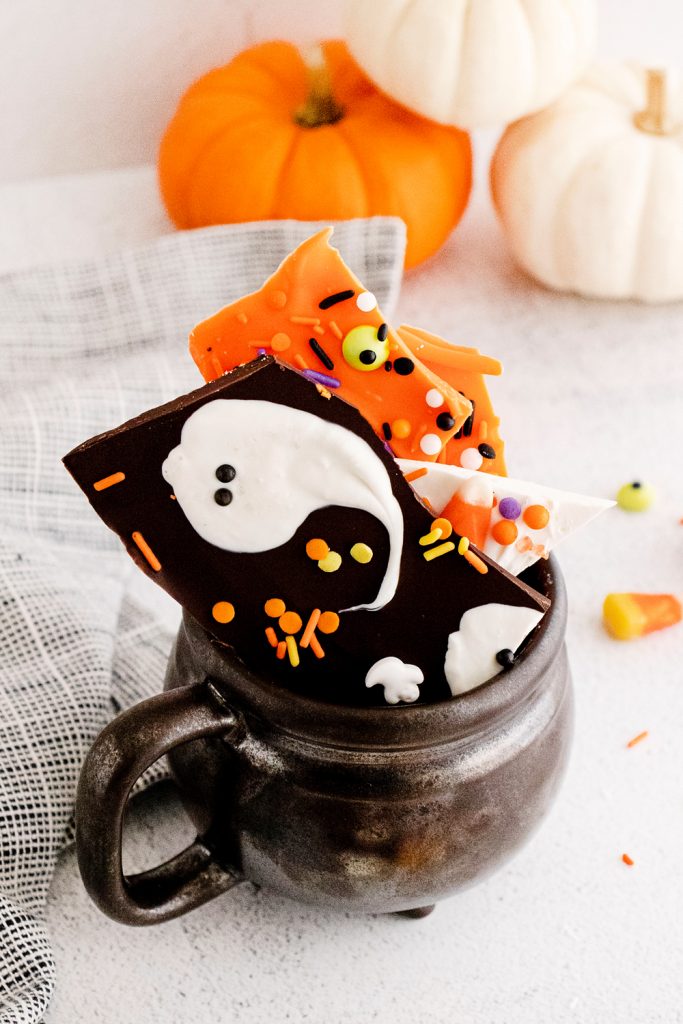
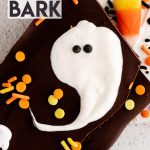
Alternately, to make ghosts you can add a medium dollop of white chocolate. Using a butter knife pull one side of the circle down into a ghost shape. Quickly add two sprinkles or candy eyeballs to the ghost.
To the remaining bark, add any sprinkles, candy, or decorations while the chocolate is still wet. It is important to work quickly as the chocolate will start to harden immediately.
If you mess up and don’t work quick enough and your chocolate has melted before you are able to add all of your decorations, pop the pan in a warm oven for just a couple minutes. This will melt the top of hte bark just enough to adhere any sprinkles and candy to the Halloween Bark.
What should I add to Halloween bark?
While candy corns are the obvious choice for Halloween bark, there are lots of great options you can add to the chocolate for tasty and colorful additions.
These are a few of my favorite chocolate bark additions,
- Pretzels
- Reese’s pieces
- M&Ms
- Oreos (crushed
- Kit Kats
- Marshmallows
- Mini peanut butter cups
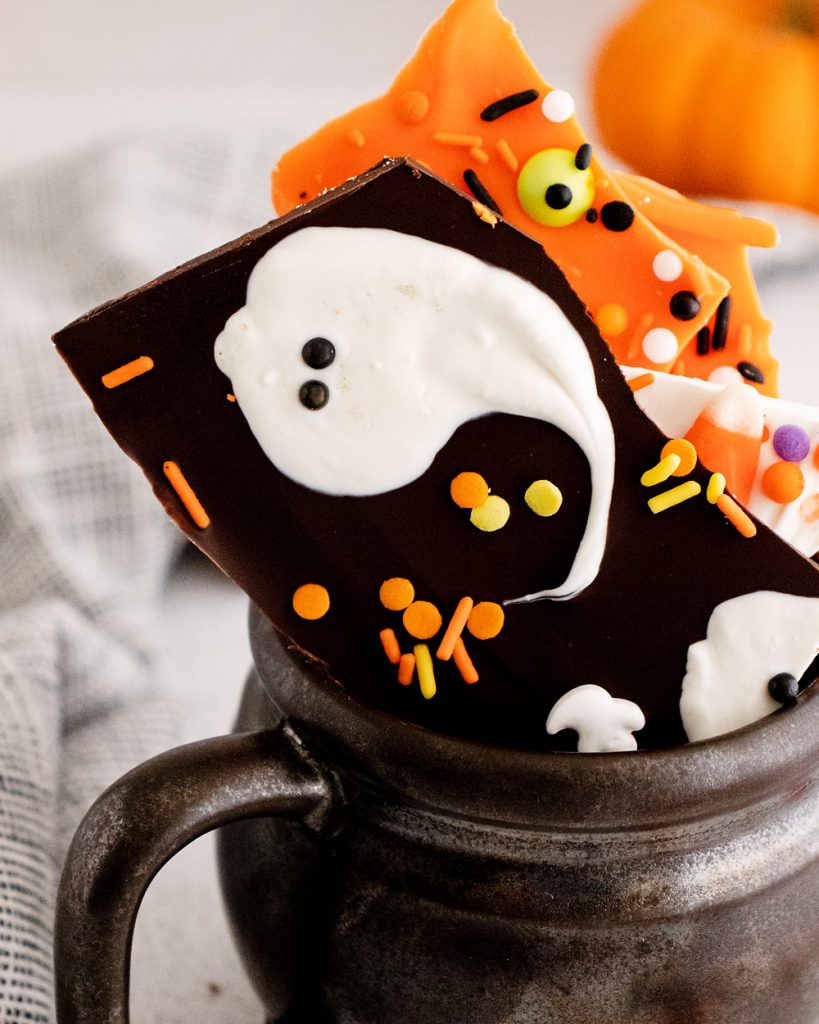
How to break Halloween bark
After you have decorated your bark, let it set in the refrigerator or freezer.
When the chocolate bark is completely set, use a sharp knife to roughly cut 2 to 3 inch size pieces. A knife works better than your hands because your warm fingers can melt the designs and you have less control over the size of the pieces.
How to store chocolate bark
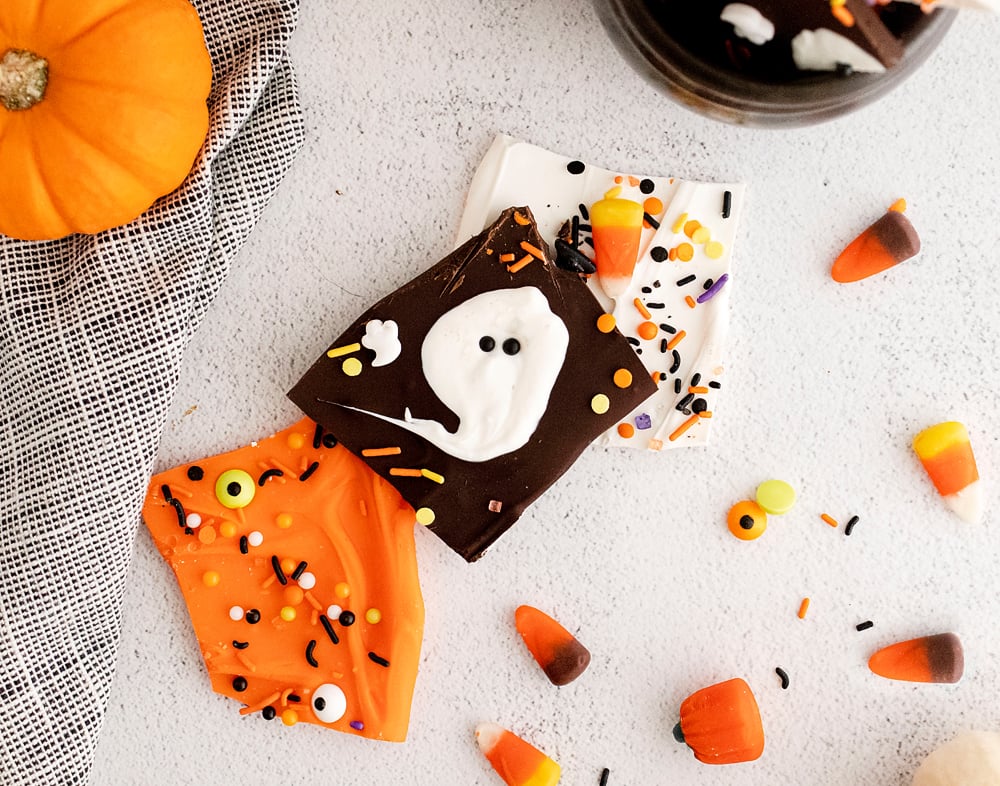
If you won’t be enjoying your chocolate bark the same day, then store them in an airtight container in the refrigerator for up to 3 days.
If you are wanting to gift the Halloween bark, add a few pieces to small cellophane bags and tie with a ribbon.
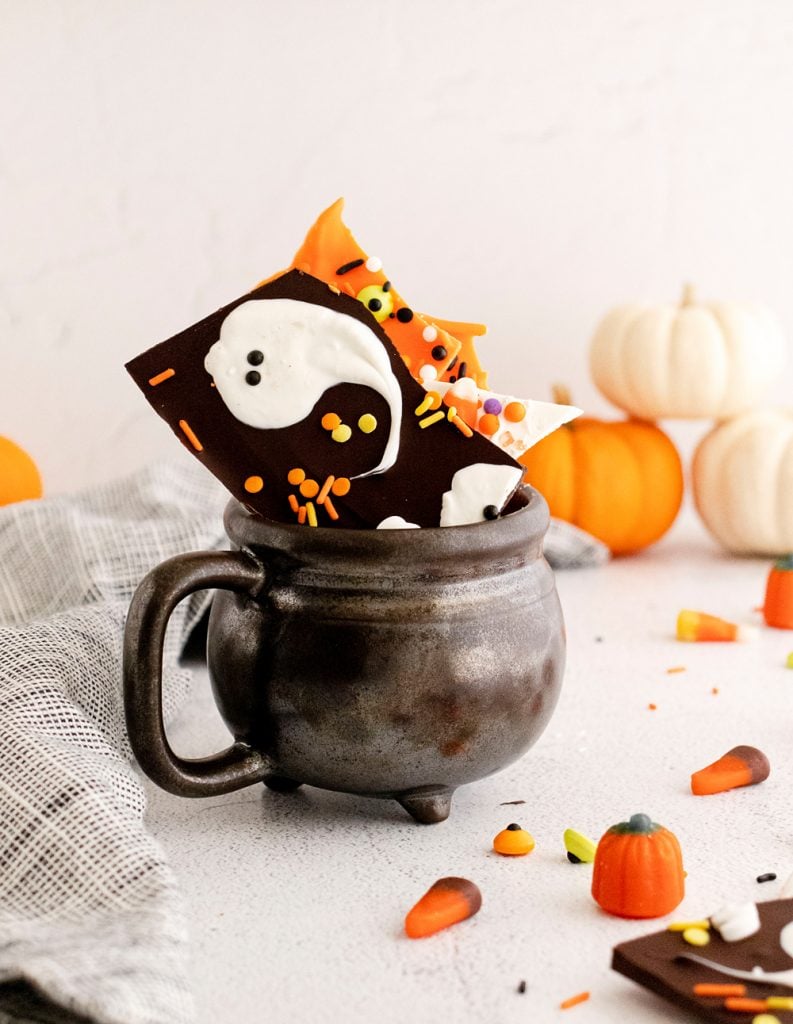
This Halloween Ghost Bark is a thoughtful gift any neighbor or coworker would appreciate for the holiday!
More kid friendly recipes for Halloween!
Kids love Halloween and helping in the kitchen. Here are some more fun recipes that your kids will love helping you make for the holiday!
- Halloween Mummy Nutter Butter Cookies
- Witch’s Brew Pudding Cups
- 3 Ingredient Frankenstein Lollipops
- No Bake Bat Cookies
- Halloween Candy Corn Popcorn Hands
Halloween Ghost Bark
Equipment
Ingredients
- 3/4 cup dark chocolate chips
- 1 1/2 cups white chocolate chips divided
- Candy dye optional
- Sprinkles
- Candy eyes
- Candy corn
Instructions
- Line a sheet pan with parchment paper.
- Add the dark chocolate chips to a small microwave safe bowl. and microwave in 30 second increments. Stir vigorously each time. Continue microwaving just until there are no longer clumps.
- Repeat with the white chocolate.
- Divide the white chocolate in half and stir in candy dye to half of the white chocolate.
- Dump the chocolate onto the parchment paper and spread it 1/4” thick with an offset spatula.
- Decorate the bark with sprinkles, candy, or designs while the chocolate is
still wet. Work quickly because the bark will start to harden quickly. - Transfer the finished chocolate bark to the refrigerator or freezer and allow it to set
for at least 30 minutes. - While the chocolate bark is still frozen, break it into large
pieces with a sharp knife. This is a job for the parents! - Store in an airtight container in the refrigerator for up to 3
days.
Notes
plastic bag or piping bag. Cut the very corner tip of the bag off and use the chocolate to
pipe the ghost or spider web designs. If your chocolate or candy wafers start to separate or clump, add 1 tablespoon
of coconut oil or shortening. Microwave for 30 seconds and then whisk it
vigorously. If your chocolate bark hardens too quickly to decorate it all with sprinkles and candy, pop it in a warm oven for a couple minutes just until the top is softened.




















Malinda says
This was so fun to make and my kids had a blast!
Alison LaFortune says
Loved how the colors popped against the chocolate. So fun to make with the kiddos.
Julie says
My kids loved helping with these! Such an easy and fun recipe, thanks for sharing!
Megan says
This was so fun! My son loved decorating these, it was the perfect Halloween treat for everyone!