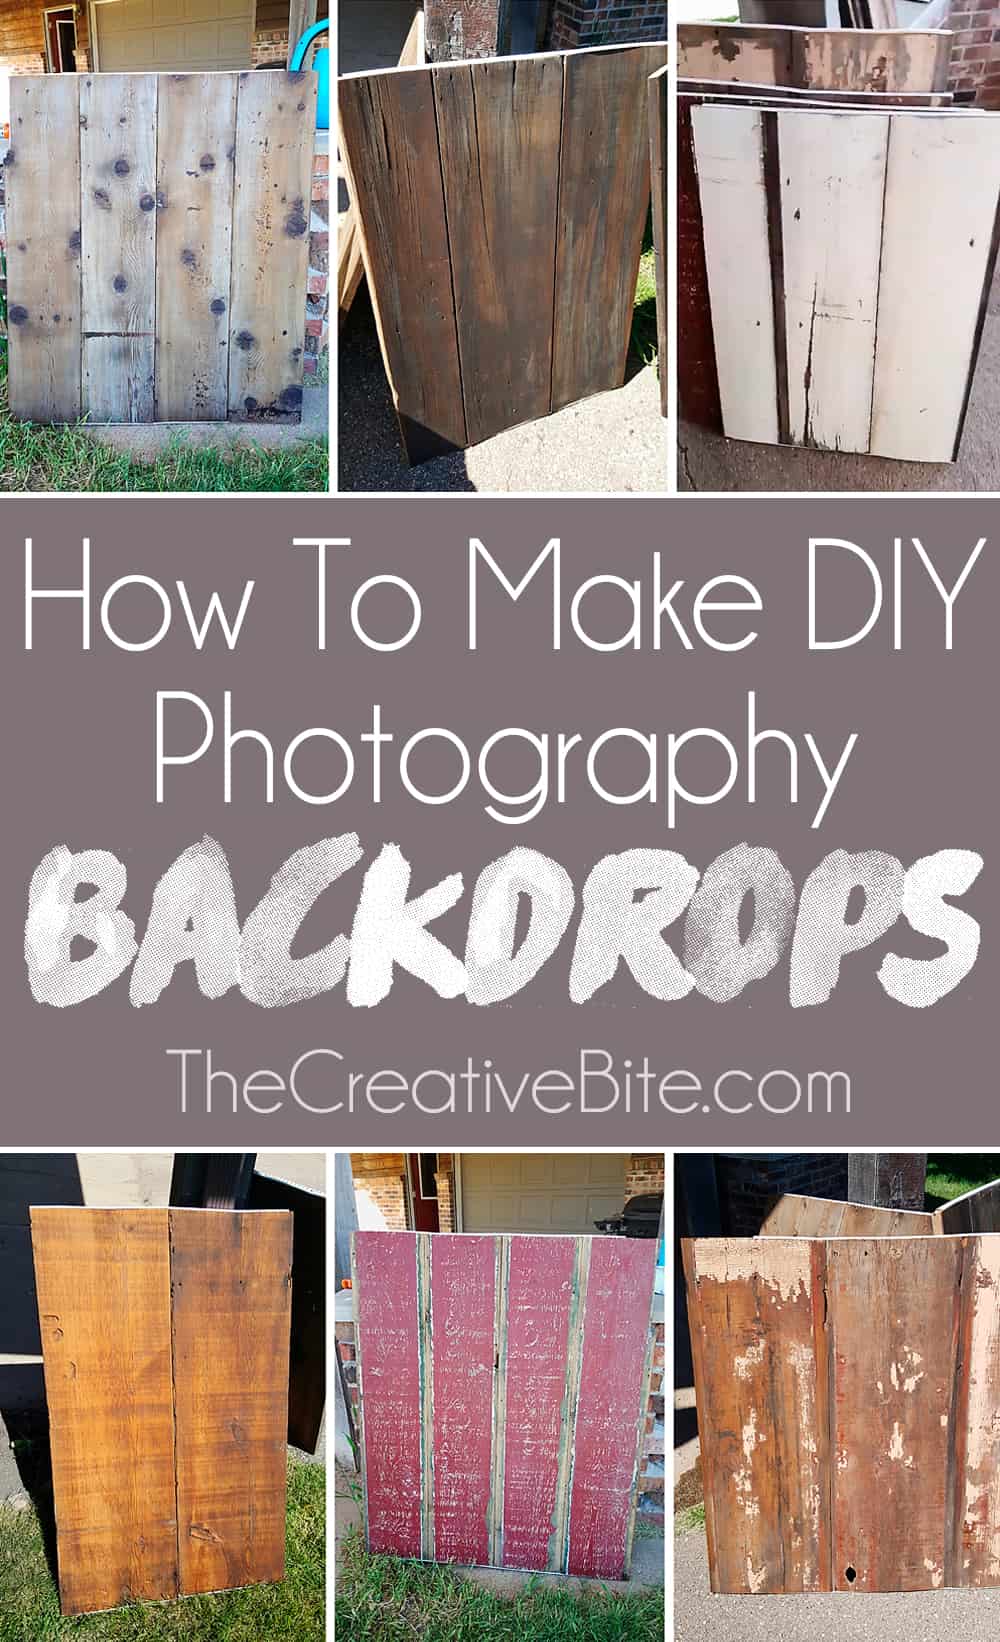
Learn How to Make DIY Wooden Photography Backdrops for your food or product photos. These dual sided photography backgrounds are an affordable option made from salvaged barn wood that look beautiful and resist stains.
 How to Make DIY Wooden Photography Backdrops
Whether you are a food photographer looking for some variety or you need something affordable to photograph your products you sell online, a beautiful backdrop will take your photos to the next level. You can buy cheap vinyl backdrops online, but they typically look as cheap as they cost and give off a glare. You can also buy beautiful wooden backdrops from companies like Erickson Woodworks, but they cost a FORTUNE! Learning How to Make DIY Wooden Photography Backdrops will provide you with lots of creative options at a very reasonable price.
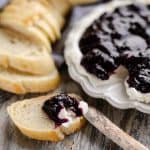
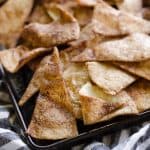
Who wants to drop $200 on a single photography backdrop?! With my simple DIY method for making your own dual sided homemade photography backdrop, you will spend a fraction of that and have durable boards that will last you a very long time. As you can see below, they work wonderfully for food and product photography indoors!
What you will need for 1 backdrop
- 1 piece of Salvaged Wood (6-12 feet long, depending on width of board)
- Screwdriver
- 1 inch Wood Screws
- 2 pieces Pilaster Strip
- Sander and Sandpaper
- Disposable Dust Mask
- Water Sealant
- Stain Pad
Selecting and cutting the salvaged wood
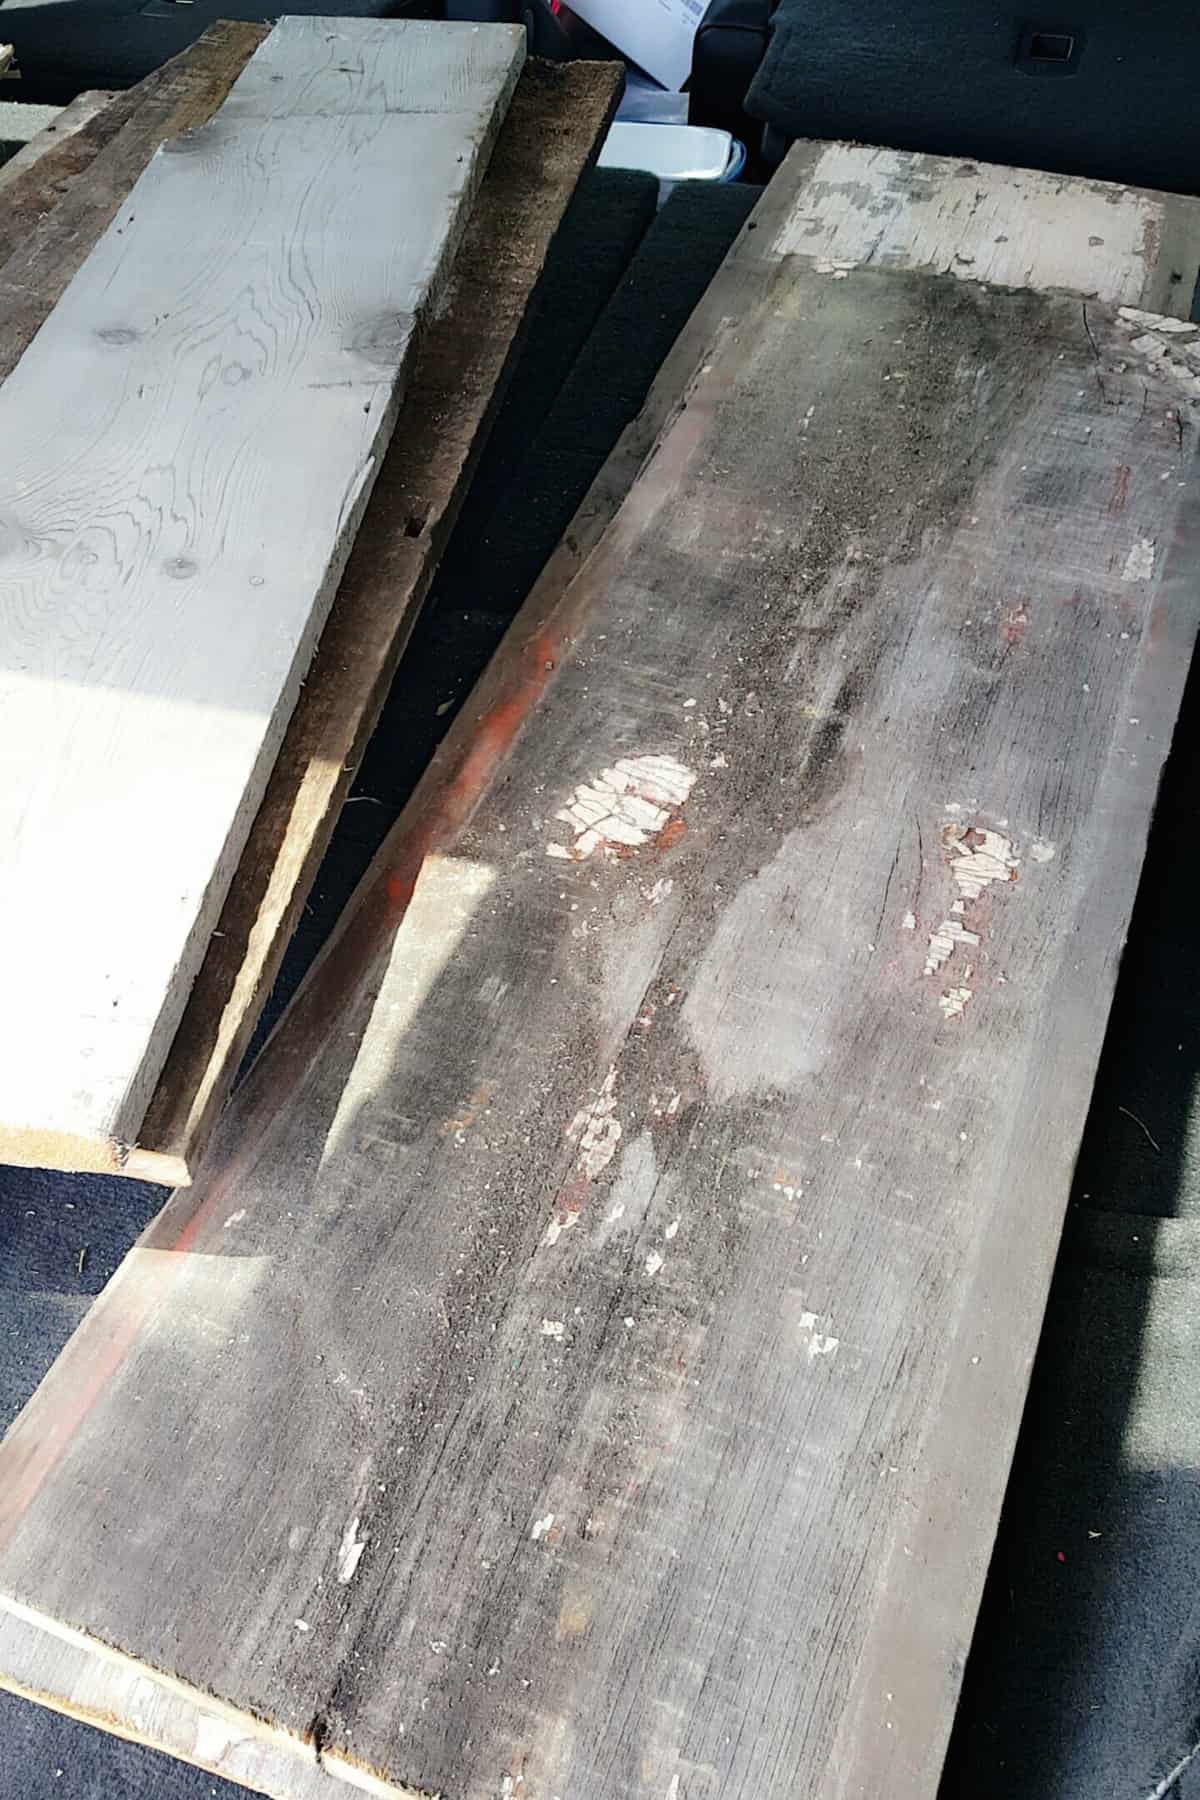
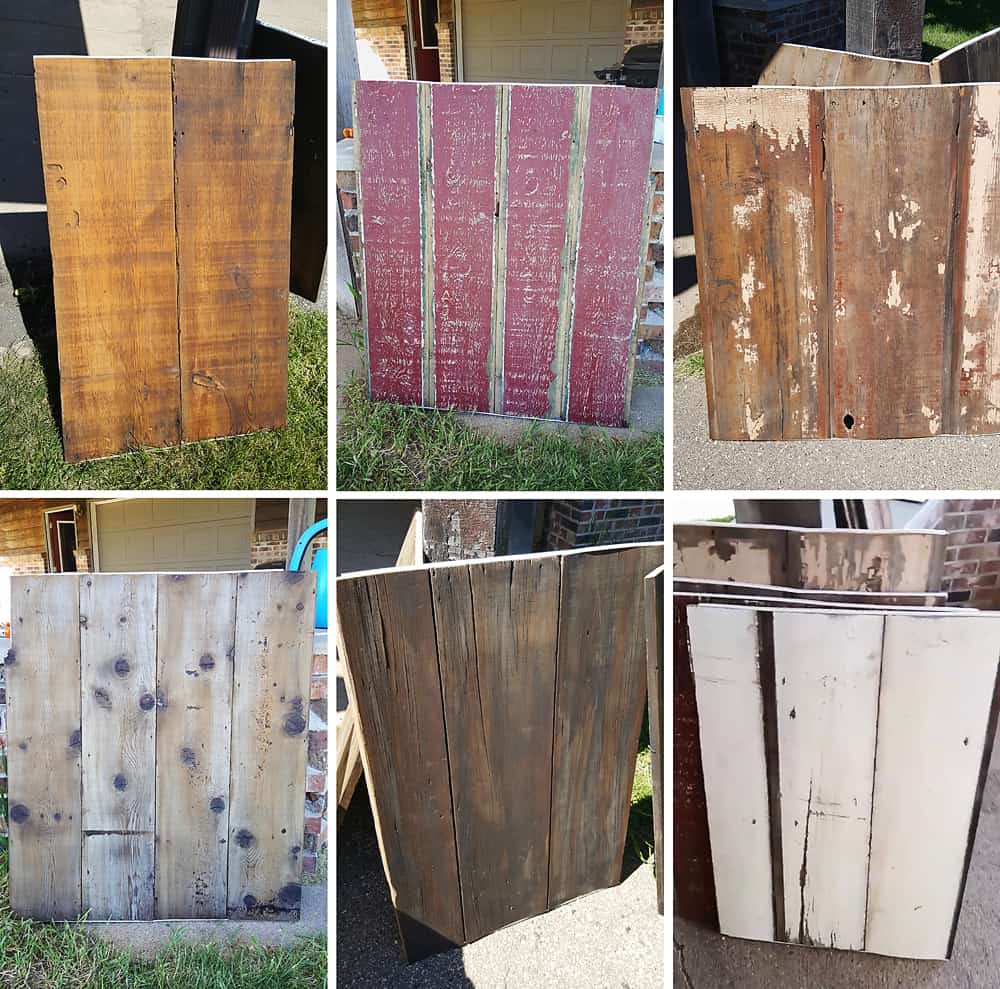
To get started, you will want to find somewhere that sells salvaged wood. Your best bet is going to be searching for a local salvage yard. If you live in Minnesota, Bauer Brothers Salvage in Minneapolis is a great option and where I purchased all of my wood. The best part of all, is that if you ask nicely, they will cut the boards down to size for you! They charged between $2-$3 per linear foot for the boards I purchased. Most boards were around 10 feet long and perfect for one backdrop. The best part of salvaged wood is that there are usually two unique sides to each board. For instance, old barn wood is typically weathered and painted on the outside and with a different color on the inside. This makes for great dual-sided photography backdrops which provide a nice variety.
Your total investment with all of the supplies for one dual sided backdrop will be around $40-$50. The more boards you make at one time, the lest the overall cost will be per board though, because the supplies can be used for many backdrops.
While the employees at the salvage yard kept warning me that some of the boards I chose weren’t “in the best of shape”, what they didn’t realize was that I did not need them to be structurally sound. I needed them to be solid enough to drill a few screws into and not crumble. The more beat up and weathered they were, the better in my opinion!
The employees cut all of the boards down to the sizes I wanted. I recommend cutting them in roughly 3 feet pieces, but you will want to divide the overall length of the board into equal pieces before cutting to ensure you don’t waste any wood. They used an old circular saw that left pretty rough cuts on the edges, but that didn’t matter. You can leave them rough or simply sand them down when you get them home.
Online garage sale sites can be another good resource for finding salvaged wood. I have seen people selling wood from old buildings or barns they are tearing down that would work great for a DIY wooden photography backdrop as well.
Sanding the boards
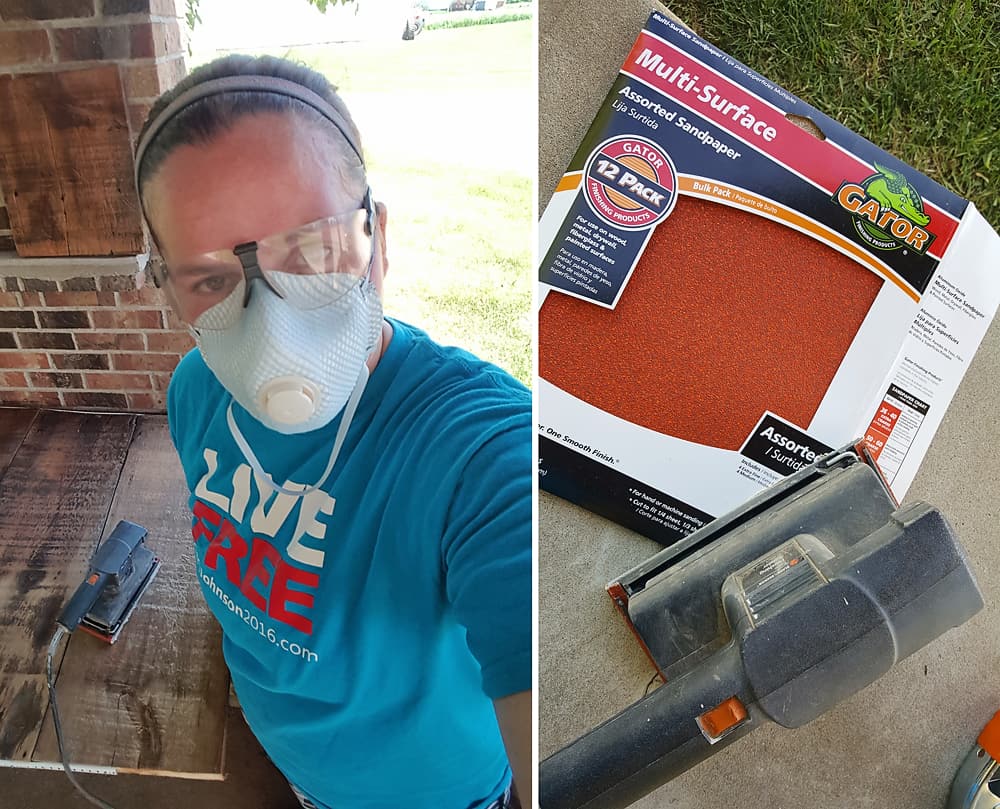
I was originally planning and using the boards as they were, but at the urging of the employee at the salvage yard, I decided to give them a quick sand to bring out their beauty. My dad had a sander that I borrowed, but if you don’t have one available you can purchase them pretty inexpensively on Amazon or rent power tools at a Home Depot. Additionally, you will need a sandpaper, which I purchased from my local hardware store.
You will want to work outdoors ideally, but if that isn’t an option you could do this project in a ventilated area or garage. Before you get started, be sure to wear a dust mask!
Starting out with the roughest sandpaper in the variety pack, sand off any dirt or unwanted markings on the boards. If the boards are weathered grey, be careful not to sand too much or you will loose that nice distressed look as you get down to fresh wood. Some of my white painted boards had prices written on them with marker, but with a little work the sandpaper took that right off while leaving the paint in tact. Do NOT forget that you only want to sand with the grain of the wood. If you sand against the grain, it will leave undesirable marks in the wood.
This process will require a little elbow grease, but it is quick work. After you have sanded the boards with a rough sandpaper, use a medium/fine grit sandpaper to smooth things out. After all the boards are all sanded, you will want to rub them down with a slightly damp towel to remove any of the extra dust or dirt.
Assembling the boards
The size of boards you make will vary depending on their intended use. If you are using them to photograph larger products, you will obviously want them a little larger. For food photography, anything 20″x30″ will be plenty large. As you can see from this wood backdrop with a skillet, 20 inches wide was plenty big enough.
To attach all of the boards together you will need a metal strip that you can drill holes through. I used a simple Pilaster Strip that I purchased at my local hardware store. These are the metal strips used to hang closet shelving with, but it was the perfect width for attaching boards with plenty of holes for screws. The nice guy at the hardware store took the long strips in the back and cut it down to the exact sizes I needed. I was able to purchase my wood screws at the same time to ensure they would fit in the holes of the pilaster strip. If you don’t have a local hardware or lumber store, you can also purchase them in convenient 24″ strips on Amazon.
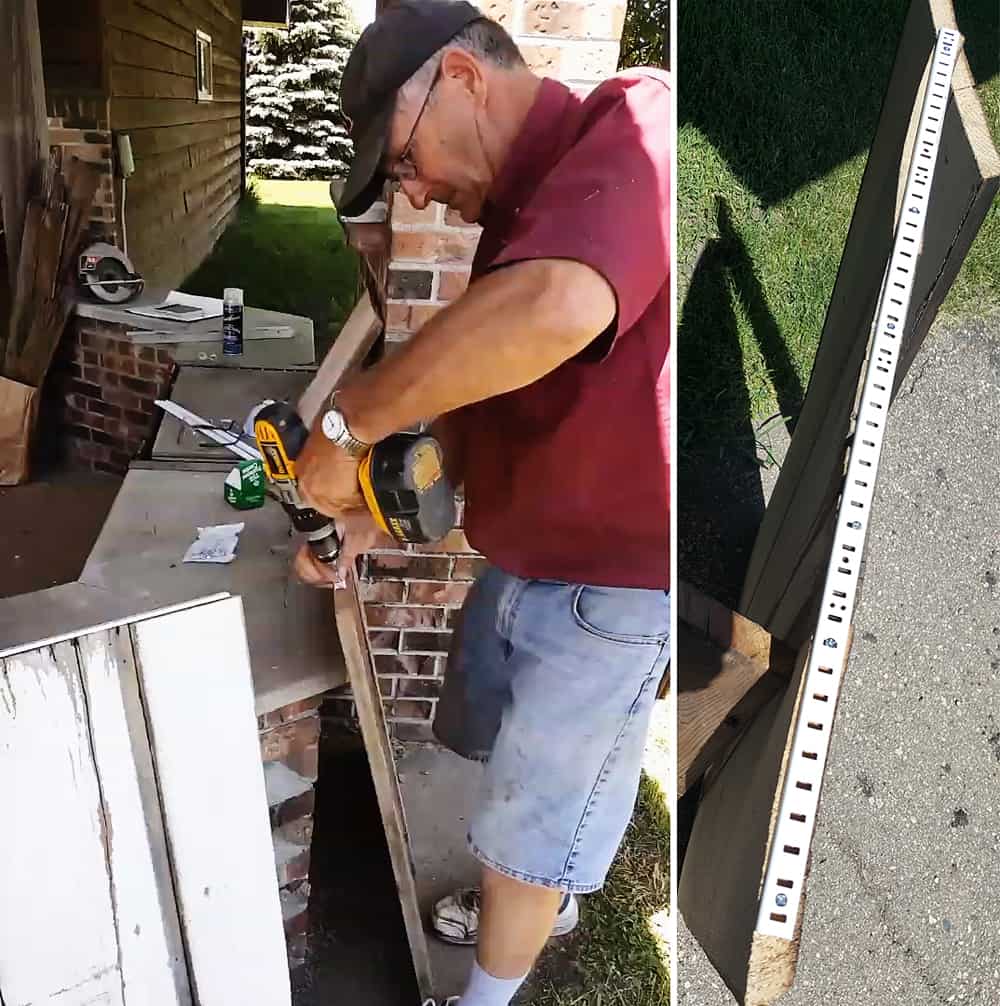
Line the boards up against a chair or bench, arranged how you want them assembled. Grab someone to help hold them together while you screw the nails in. As you can see, my wonderful father with his very cool dad shorts and tall socks helped me out. 😉 Sometimes I had to squeeze the edges of the boards together as my dad screwed the nails in to make sure there wasn’t too big of a gap between each board.
It is ideal to use an electric screwdriver at this point. I’m sure you could manage with a regular screw driver, but it will make much more difficult work of the task. When you are screwing the wood screws into the top of each board, check to be sure you aren’t screwing into a knot of wood. If you hit a knot, you will most likely strip the screw as you meet much more resistance and have to use a pliers to get it out. #SpeakingFromExperience
Because you are using small 1 inch wood screws, it isn’t necessary to pre-drill any holes. In the seven backdrops that I made, we didn’t splinter a single piece of wood without pre-drilling. If you use larger screws, it may be necessary to pre-drill though.
Screw 2 wood screws into the top of each piece of wood through the pilaster strip. This will hold all of the boards together securely. After you have finished one side, be very careful to flip the boards over all at the same time in unison. If you let one board swing freely, it will bend the pilaster strip.
If your boards aren’t perfectly even, the pilaster strip is somewhat forgiving and can bend with the boards…as you can see from some of my wonky edges below! Screw the second pilaster strip into the other side and you are almost finished.
Sealing the boards
If the salvaged boards you selected are painted, like the white or red ones above, you don’t need to seal them. The paint will provide enough sealant for wiping up any spills. In fact, if you use a water sealant over the paint, it will leave a sticky residue that is undesirable. If the boards are raw on the other hand, you will want to give them a coat of water sealant. Water sealant is the best option when sealing backdrops, because it provides a barrier for the wood without adding any shine or discoloration that a varnish would.
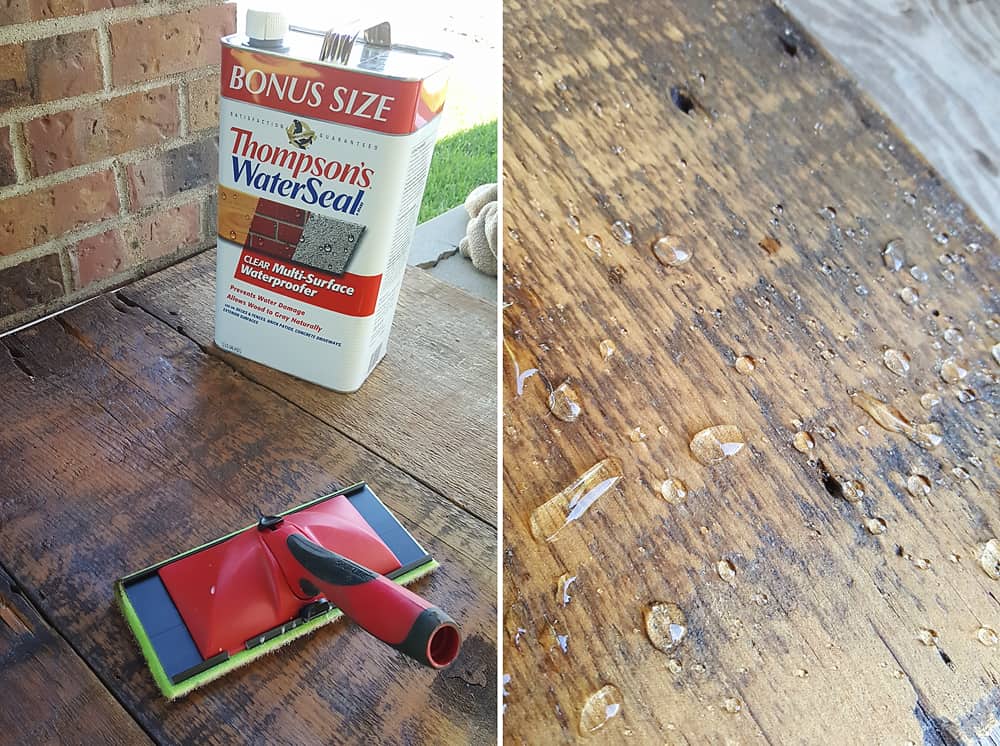
Most likely your salvaged wood will be old and sometimes rotted out, so water or any spills could very easily seep into the boards. The water sealant will create a barrier that will give you a small window of time to wipe things off without them soaking in. As you can see, after you apply a coat of the sealant, water beads right up on the boards.
Be sure to read and carefully follow the instructions on the water sealant you purchase. It is not recommended to seal wood on a humid day. Also, if you apply too thick of a coat, it will leave behind a sticky residue.
After you have applied a single layer of water sealant to all of the boards using a stain pad, use a wet cloth to wipe off any sealant from patches of paint and the pilaster strip. Again, sealant on anything but porous wood will leave a sticky surface. Set the boards outside on a dry sunny day and allow them to dry completely before bringing them indoors.
The beauty of attaching them together is that you can store them upright, stacked against the wall. Once you learn How to Make DIY Wooden Photography Backdrops, you will want to make them again and again for tons of amazing background options!
The finished products!








Katie says
Hello! Love your stuff. how do you prop them up if you’re doing pictures on a table and cannot rest it against a wall?
Danielle Green says
I rarely use them as a backdrop propped up, but instead use them as flat lays. I make them big enough so that I shoot at angles where I don’t need something on the back. Having one on the back usually hinders my natural light as well. When I do need to put one behind for certain photos, I just put a heavy box behind it and prop it against that.
rabakomaba says
I checked a lot of handbooks with woodworking plans. Instructions from woodprix are the best I think.
Rebecca | Let's Eat Cake says
Thank you for these tips! A friend of mine just dropped off some great boards at my house and I wasn’t sure how to put them together so I haven’t used them yet. But your tutorial will help!
Melissa @ Served Up With Love says
This is great, thanks for sharing!
Ashley says
So cool! I’d love to try this one day.